This is the story of me building my farm table from barn wood. If you want to see the one Jess did, see her post here:
Rustic Farm Table
It was great for me because Jess did all the original groundwork to learn about staining and waxing a table and had the great advice for me on this second attempt at building a table.
I think it's so neat that we're able to use the old wood from the barn that was on the farm. I'm hoping that we've made these tables strong enough that they'll be passed down for more people to enjoy.
This is a long story with lots of photos, so read on...
When picking a pattern for my table, I really liked the ones that had the bread boards at the ends of the table that added a little visual interest. And since I wanted it to be a different table than what Jess did (has to be the same but different from my sister, of course), I decided that I'd like two pedestal legs instead of the four posters. Ana White has quite a few options on her site (
http://ana-white.com/) and those were my inspiration for my
table top and
legs.
Of course, I couldn't use those "as is", it had to be a bit of a challenge to make it exactly what I wanted. The decision going in was that I wanted a table about 42" wide, 72" long, and 31" high. I ended up with 41" x 69" x 30.5".
I was lucky that it worked pretty much exactly as I planned, but the width was actually determined by the boards I chose. The table I had in the space was 41" wide and I didn't really want to go any narrower than that. If there's a crowd around the table, I feel you need to have the space for dishes and for the food without being squished. Since I was putting together several boards for the width, I was just aiming for something around 42".
The suggested length for a table for 6 people is 60"-72" and my old table was 58". Six people around it was definitely too tight, so I went with the higher end. There is lots of space in my dining room, so I wasn't worried about it fitting in the space.
After having sat at Jess' table, I thought 33" was a too bit high for me so I ended up aiming for 31". The standard is 30", but our table growing up was raised to accommodate taller people (not me) so that does always feel a bit low to me.
This is the wood leftover from the old barn. It's literally a pile and I have taken a tumble on it. Dad has stacked it in matching widths, so it's pretty organized, but since there is so much of it, it can take quite a while to sort through to find what you want.
I chose to use
shiplap boards that had been the floor of the hay loft. They have a little piece on each side of the board that will overlap each other. You can see them on the left board here, but I trimmed them off the one on the right (that is one of the end bread boards).
I went with 7" wide ones for my bread boards on the ends and through the centre of my table with narrower ones (5.5") for the rest of the table. Surprising at how that inch-and-a-half makes such a difference to how it looks.
To the tablesaw! I was a little scared of this thing at first, but since I used it so much, I'm quite a bit more comfortable with it now. I hadn't used it much in the past, but certainly had been around as my dad used it, so when I started it up all ready to go, I knew it didn't sound right. Turns out a piece had fallen out earlier and Dad spent a bit of time fixing it for me. He didn't actually sign up for this project, but ended up quite involved because I had lots(!) of questions. I can't think of a time when I've asked him about mechanical things or carpentry and he didn't know the answer. My dad is pretty awesome!
For the bread boards I had to trim off both sides of the little lip from the shiplap boards so that they'd be smooth, either for other boards to butt against or the be the outside edge of the table. Since the boards are so old, I had to use a planer to smooth them out even more after they went through the table saw.
Here are the very long boards to be cut down into the length-wise pieces that would form most of my table.
(Since I was doing most the work myself, here's one of the few photos I'm actually in.)
Then to pick which side to use - the grey smooth side or the rougher side with the white paint still on. I did want to use the grey side up, but since these are old boards they all have a curve to them. And it curved the wrong way! The boards would really rock with the smooth side up and would be difficult to attach well to the base, so my mind had to be made up the other way. Rough side up it was...
Since these were old boards that had be the floor of the barn, they definitely needed a pressure wash. It was a little unfortunate that the process took off a lot of the white paint that had managed to hang on through the years.
Next step was to lay out the order I actually wanted the boards to be in and then trim up the cross pieces to be the same width.
So now I had all the piece ready for the tabletop and can start actually putting it together.
Since my tabletop was made up of small pieces, I attached it all to a piece of 1/2" plywood as a solid base. This was one of the very few things I actually had to purchase for the project. I cut it 2-inches smaller than the planned size of the top so you'd have the overhang. I added some braces around the edge to add some strength and for where I would attach the trim. This was just a couple 2x4s from the pile. They used to be part of a waterbed.
Now to attach all the boards. I started in the centre with the middle cross piece of the table, then built each side with the narrow boards (only two are on in this photo) and the bread board ends.
I used both glue and nails to hold the boards to the base. Glue on the overlap and on the base, then nails just through the overlapping pieces to go through two boards an into the base to hold it all together while the glue dries.
They were small finishing nails and there were more than a few that didn't quite go in straight and had to be pulled out :)
Here's one side of the table all finished. This took me a few days to do. My arm got tired from holding the hammer. In hindsight, I should have borrowed my brother's air nailer and it would have gone much faster.
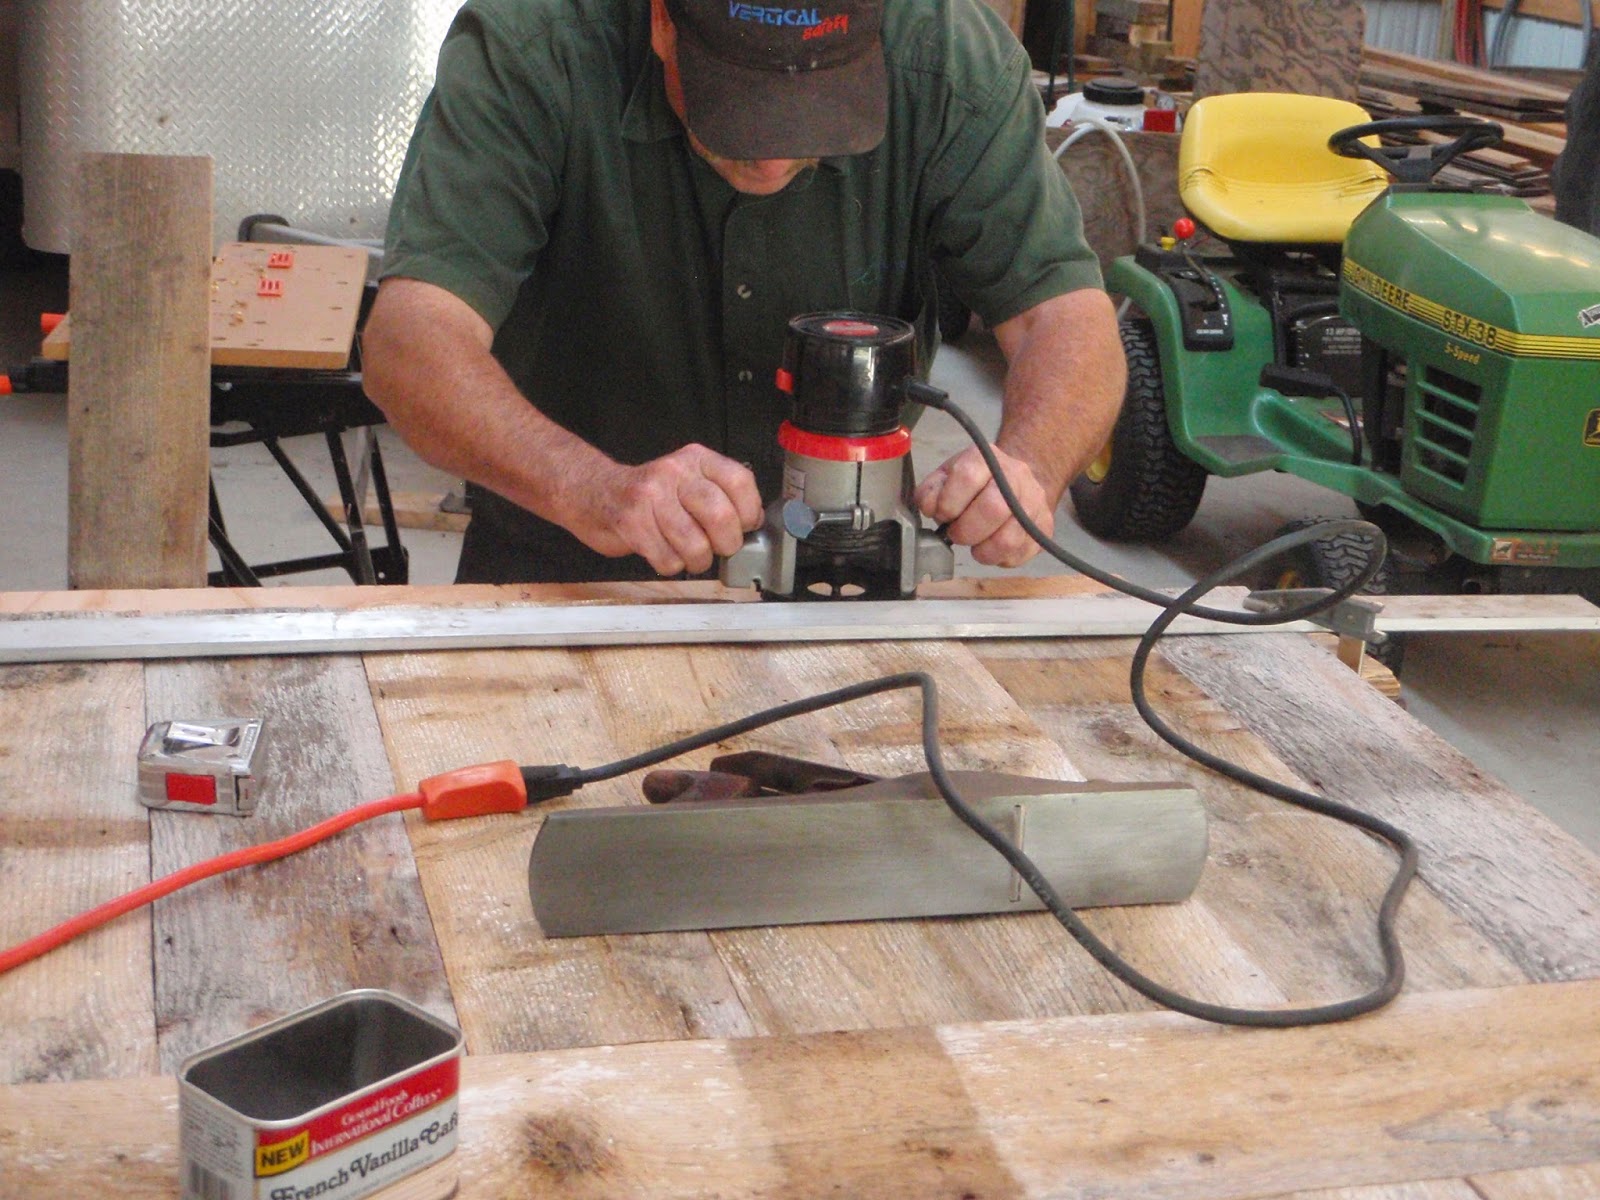
Once all of it was together, it was a little bit out on the edges now that things were tight together and securely attached.
So a long straight edge and a router fixed that problem.
Now to finish the table top. Several passes with a mouse sander at increasingly fine grit levels made it smooth. It was suggested to me to use a belt sander for this, but I wanted to take it slow so that I made it smooth, but could keep the character of the wood. I was afraid that a belt sander would take too much off.
My three-year-old nephew Jack helped with this step.
Then we used some wood filler on a couple spots where the gap between the boards was big enough to lose a macaroni noodle.
After this step I also added the trim around the underside of the table that hides the plywood base, but I forgot to get any pictures of that. So here's the tabletop all attached and now smooth. Time to add the decoration!
I did a few test patches on an extra board and decided on some white wash (with old primer I had) and then stained over that with Early American colour.
This was a bit of a trial and error process. I dry-brushed on the white and you can see how much it changes the look from the raw wood.
After staining once, I thought there was too much white, and it was too "globby" in places where the brush first touched the boards, so I pulled out the mouse sander again to take some of the white off. Then a couple more layers of stain to get a nice dark colour on it. For some reason, this photo makes the white stand out more than it does in real life.
Top was finished, so now I had to build the legs.
I the pieces that I needed based on the
pedestal pattern I was using, though I only needed to build 2 pedestals, not 3.
I also didn't quite follow the order of that pattern as I thought it would be easier to put the stretcher in place before finishing all the legs, instead of trying to slide it in as the final step. Good thing I did as my stretcher board twisted a bit so had to be trimmed at the ends to make it sit straight.
So here's the bottom part of the legs. I used glue here too and held them together with 4" screws from alternate sides to go through two boards and into the third.
You can see the ends where I used the table saw to trim off a bit of the board.
And then the stretcher sitting in the legs.
Put in the top centre pieces to complete that part.
And added the top and bottom cross pieces of the legs.
I'm so close to being finished! These are decorative pieces but they also provide a little stability between the horizontal and vertical parts of the legs. Start with a square block, draw the curved pieces you want to cut out (I think the pattern only has one curved piece in a block, but then you waste so much wood), and I used a jigsaw to cut them out. (I have it laid out right-to-left for some reason in the picture).
Here's a close up of the centre one where you can see the pencil lines of where I'm going to cut.
Eight pieces needed for the two legs. The jigsaw is quite a rough cut, so I clamped them together and used a belt sander here to smooth them out and try to get the same shape on them all.
Attach them to the legs with more glue and screws, making sure the wood grain
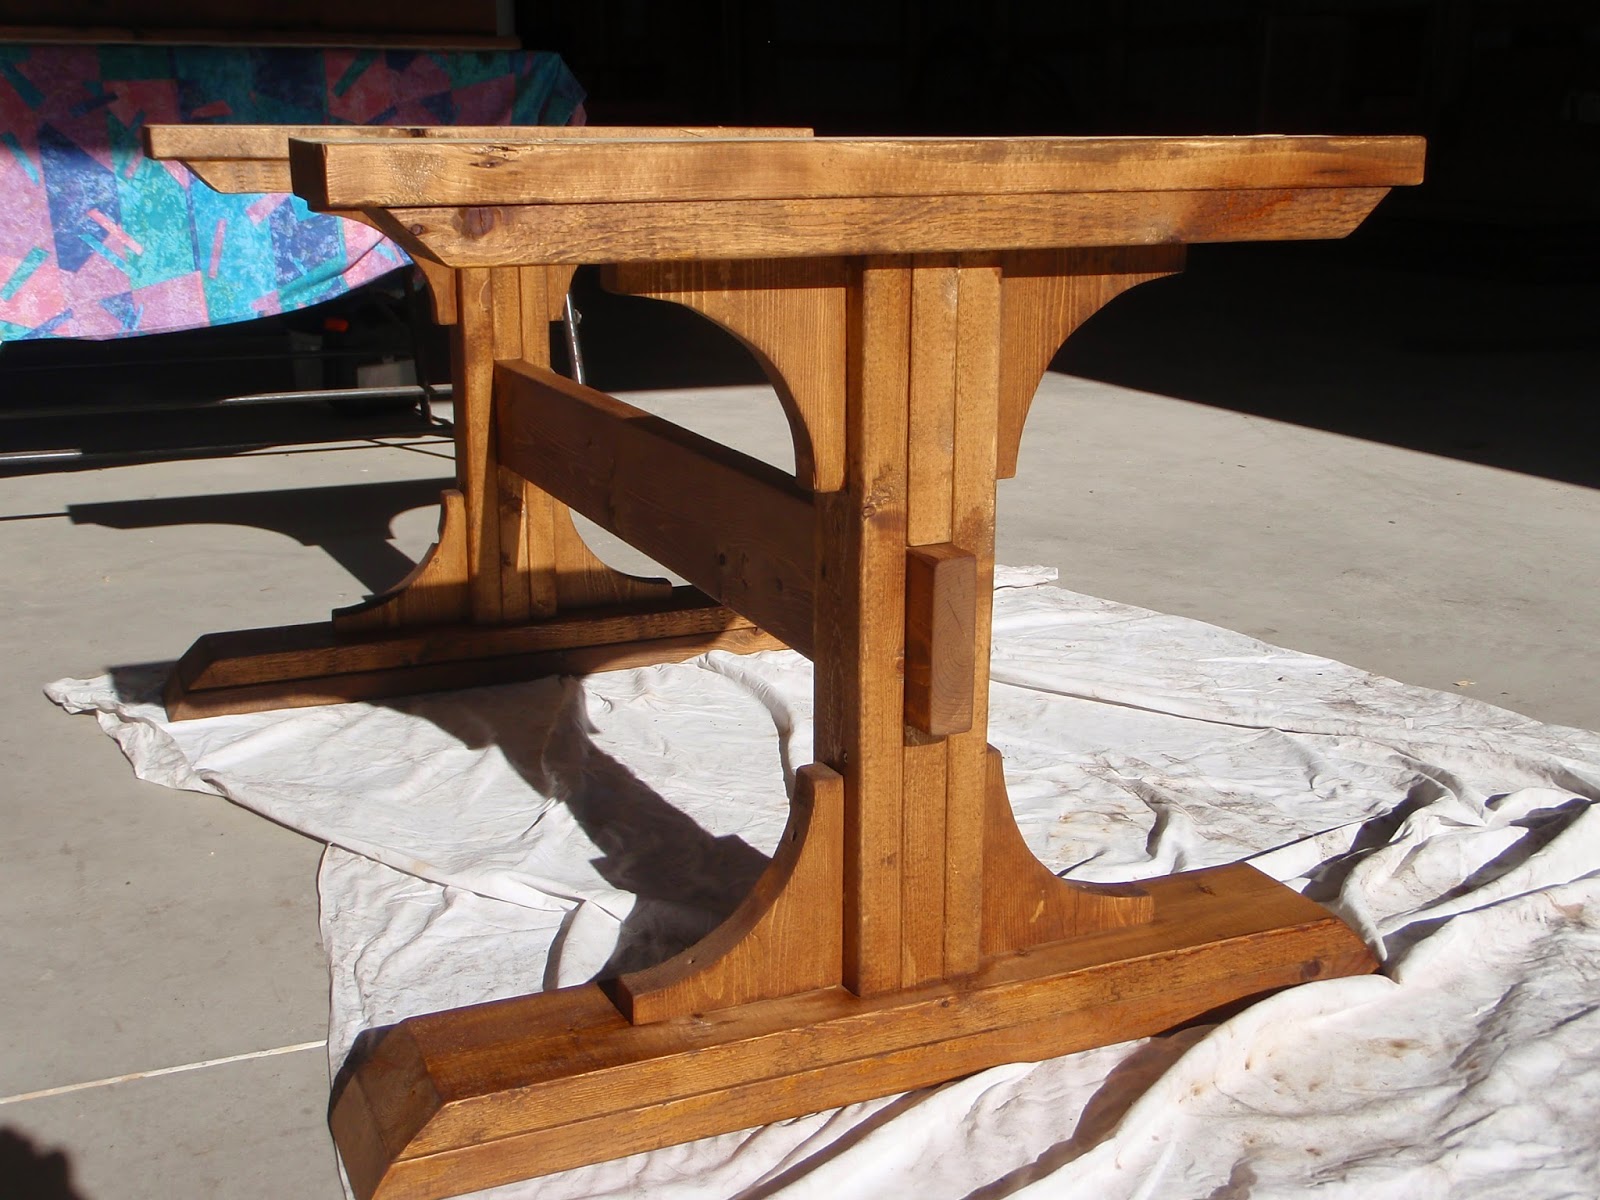
Then I stained the legs with Early American, but no white wash.
Up to this point, it had all taken plan in my parents' barn using their tools, so it got moved to my garage for the last step of two coats of Minwax finishing paste on the top.
The stuff stinks! I'm sure the formula hasn't changed in 100 years because while I was doing this, it just reminded me of old school desk. I'm sure I've smelled this in some old school museum at some point in my past. But you can see the shine of the wax on the table top when it was finished and I think it really brought out the white paint on the table, especially in the circular saw marks of the old wood.
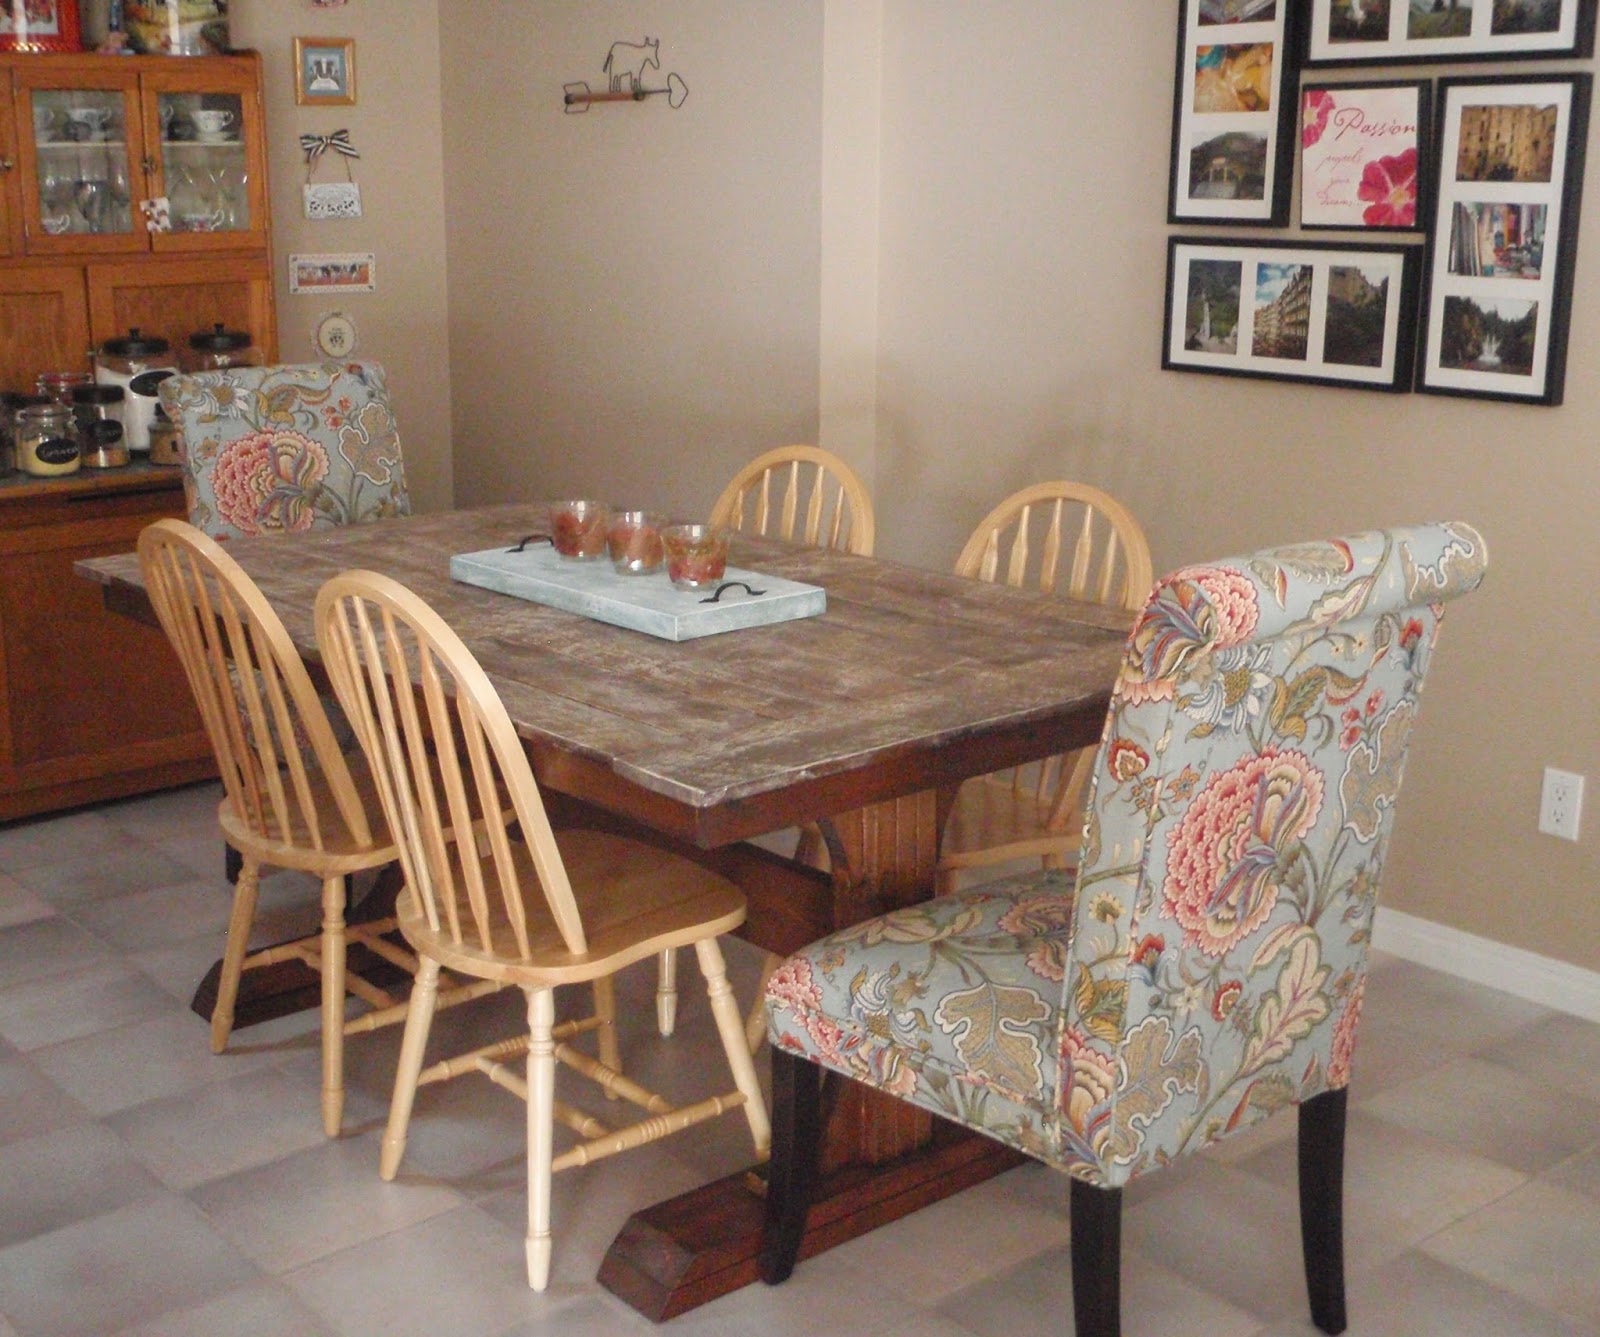
Time for it to be moved in and used!
I couldn't tell you how many hours this actually took me since I mostly worked on weekends, but I started choosing boards on May 11 and it got moved in to my house on October 29. I'm positive that if you're dedicated you can build this in less than six months :)

The wooden chairs along the sides of the table belong to the table I took out, so the last thing I need to do is find new chairs to put in those spots. I bought the blue chairs at the ends of the table quite some time ago. I knew I wanted accent chairs for when I had the table but at the time I wanted to paint around the pantry in my kitchen as the original builder's paint colour in my house is "snow beige". (That's about as exciting as you think it is.) But since I knew it would be easier to match paint to the chairs instead of the other way around, I bought the chairs first. This picture is from the other side of the table, standing at the hallway, where you can see both the chairs and the blue accent in the kitchen. I used that same blue paint when I built my serving tray that's on the table. So I basically did this backwards in that I went chairs, paint, accent pieces, table.

I LOVE how the table turned out and I'm quite proud of myself. I signed and dated the bottom of the table so that when my descendants get the table, they know who built it and when.
~Lisa
P.S. If you like the table decorations, they are the
Serving Tray and
Candle Holders.


No comments:
Post a Comment